
I absolutely loved making this beach shack playhouse as part of one of our recent charity builds. I’ve included the step by step process below so you can make one yourself! I didn’t give too many exact measurements because your space will be different, but this should be a great starting off place!
Make a Plan
Measure your space (width, length, and height), and write down all the measurements. Don’t forget to include measurements of the baseboards, windows, distance from window to wall, ceiling drop-downs, or anything else you need to know before planning your project. Pro-tip: We like to use tape to mark out the possible shapes and sizes of the project, just to have a clear visual of how much space we will be using, and how it affects the function of the rest of the room.
We used Sketchup (free 3D modeling program) to create the plans for the beach shack, using the measurements we took of the space. Some people prefer to use a pencil and paper to plan their project. Either way, it is crucial to plan out the project the best you can from start to finish. This will ensure that you do things in the correct order, and will also help you avoid making mistakes that could potentially cost you extra time and money. It also provides a way to calculate exactly how much of each material you are going to need to purchase.
Don’t forget: The nominal and actual sizes of the wood you work with are NOT THE SAME! For example, the actual size of a 2×4 is 1 ½”x 3 ½”. It’s important to input the actual sizes of the wood when you are planning/creating a 3D model, or it can throw off the measurements of the entire project.

MATERIALS
- 2×4’s (for framing walls and building the base of the shack)
- 4×4 posts (stilts to support beach shack)
- ¾” plywood sheet (flooring)
- ½” plywood sheets (walls)
- ¼” plywood sheets (siding)
- 1×2 boards (decorative trim)
- Wood glue
- Caulk
- Paint
- Primer
- Polyurethane
- Painting supplies
- Spackle/wood filler
- Putty knife
- Sanding pads
- Screws
- Bolts
- Washers
- Nails
- Pin nails
- Slide and ladder rungs
Don’t forget safety gear (goggles, hearing protection, gloves, etc)!
TOOLS
- Drill
- Impact driver
- Drill bits
- Miter saw
- Table saw
- Jig saw
- Kreg pocket hole jig
- Nail gun
- Oscillator
- Sander
- Speed square
- Tape measurer
- Pencil
- Corner clamps
- Stud finder
- Caulk gun
- Socket wrench kit
Cut the Wood
First, we cut all of the 2×4’s to the right size for the wall frames and base of the beach shack, using our 3D model as a reference. We did this using a miter saw. We also used the miter saw to cut the 4×4 posts, which are the stilts holding the beach shack, to the right height. It’s important to be precise when doing so because they support the whole beach shack and need to be level. Next, we ripped the ½” plywood to the right size to create the walls of the beach shack using the table saw. We also used the table saw to rip the ¼” plywood into planks of siding for the exterior of the shack. Then we ripped the ¾” plywood into planks for the flooring of the beach shack. We also cut the trim pieces to size.

Build the Base of the Shack
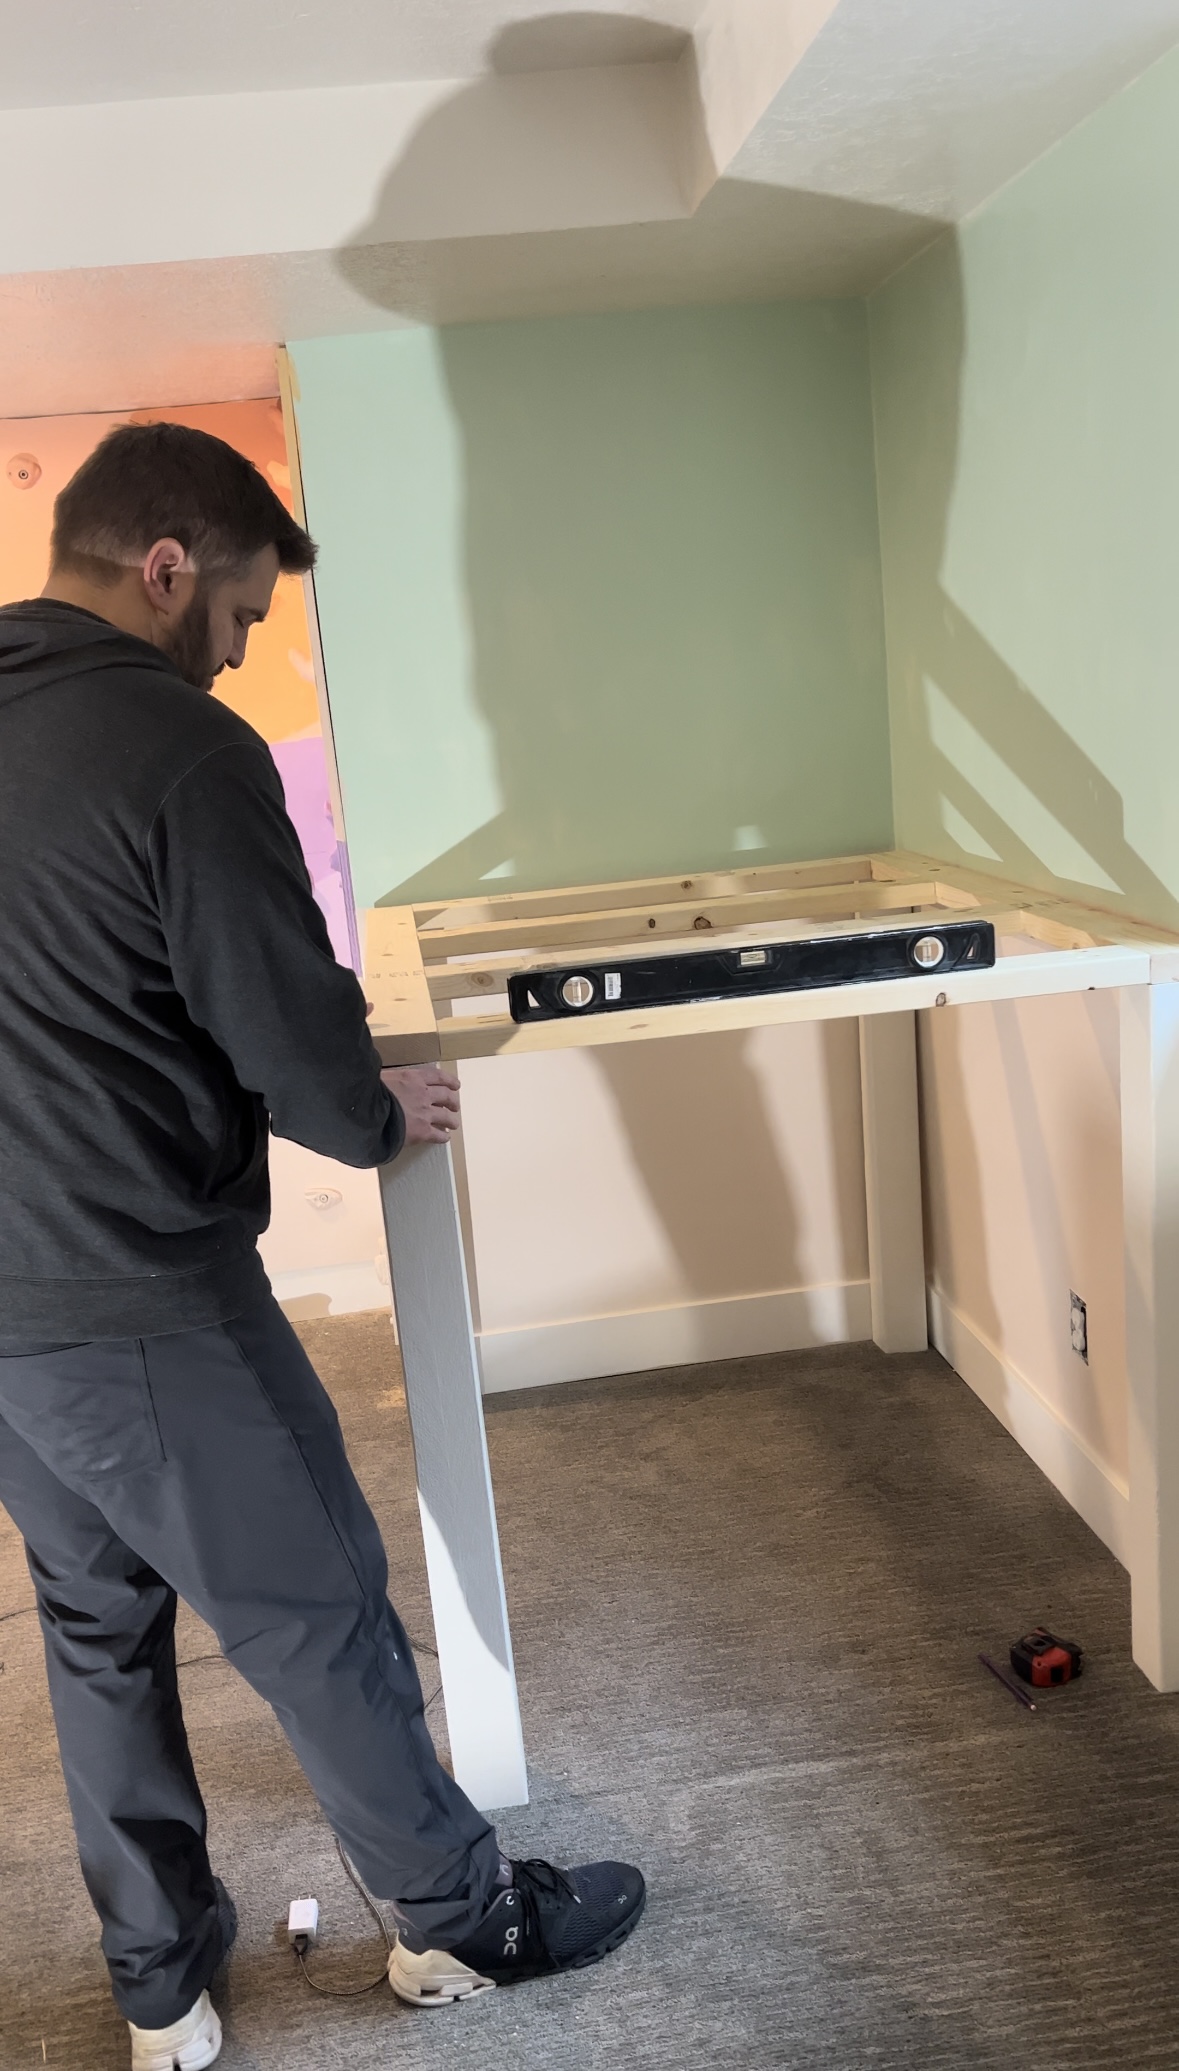
Next, we built a square for the base of the 2×4’s, using the pocket hole jig, wood glue, and 2 ½” screws. Once the square was built, we placed the 4×4 posts under each corner of the square and screwed the square base to the posts. Using a level during this step is important and ensures that the posts are completely level on all sides. Then we secured the 4×4 posts and the 2×4 square to the studs inside the existing walls to secure the whole thing in place and offer extra support.
Build the Walls
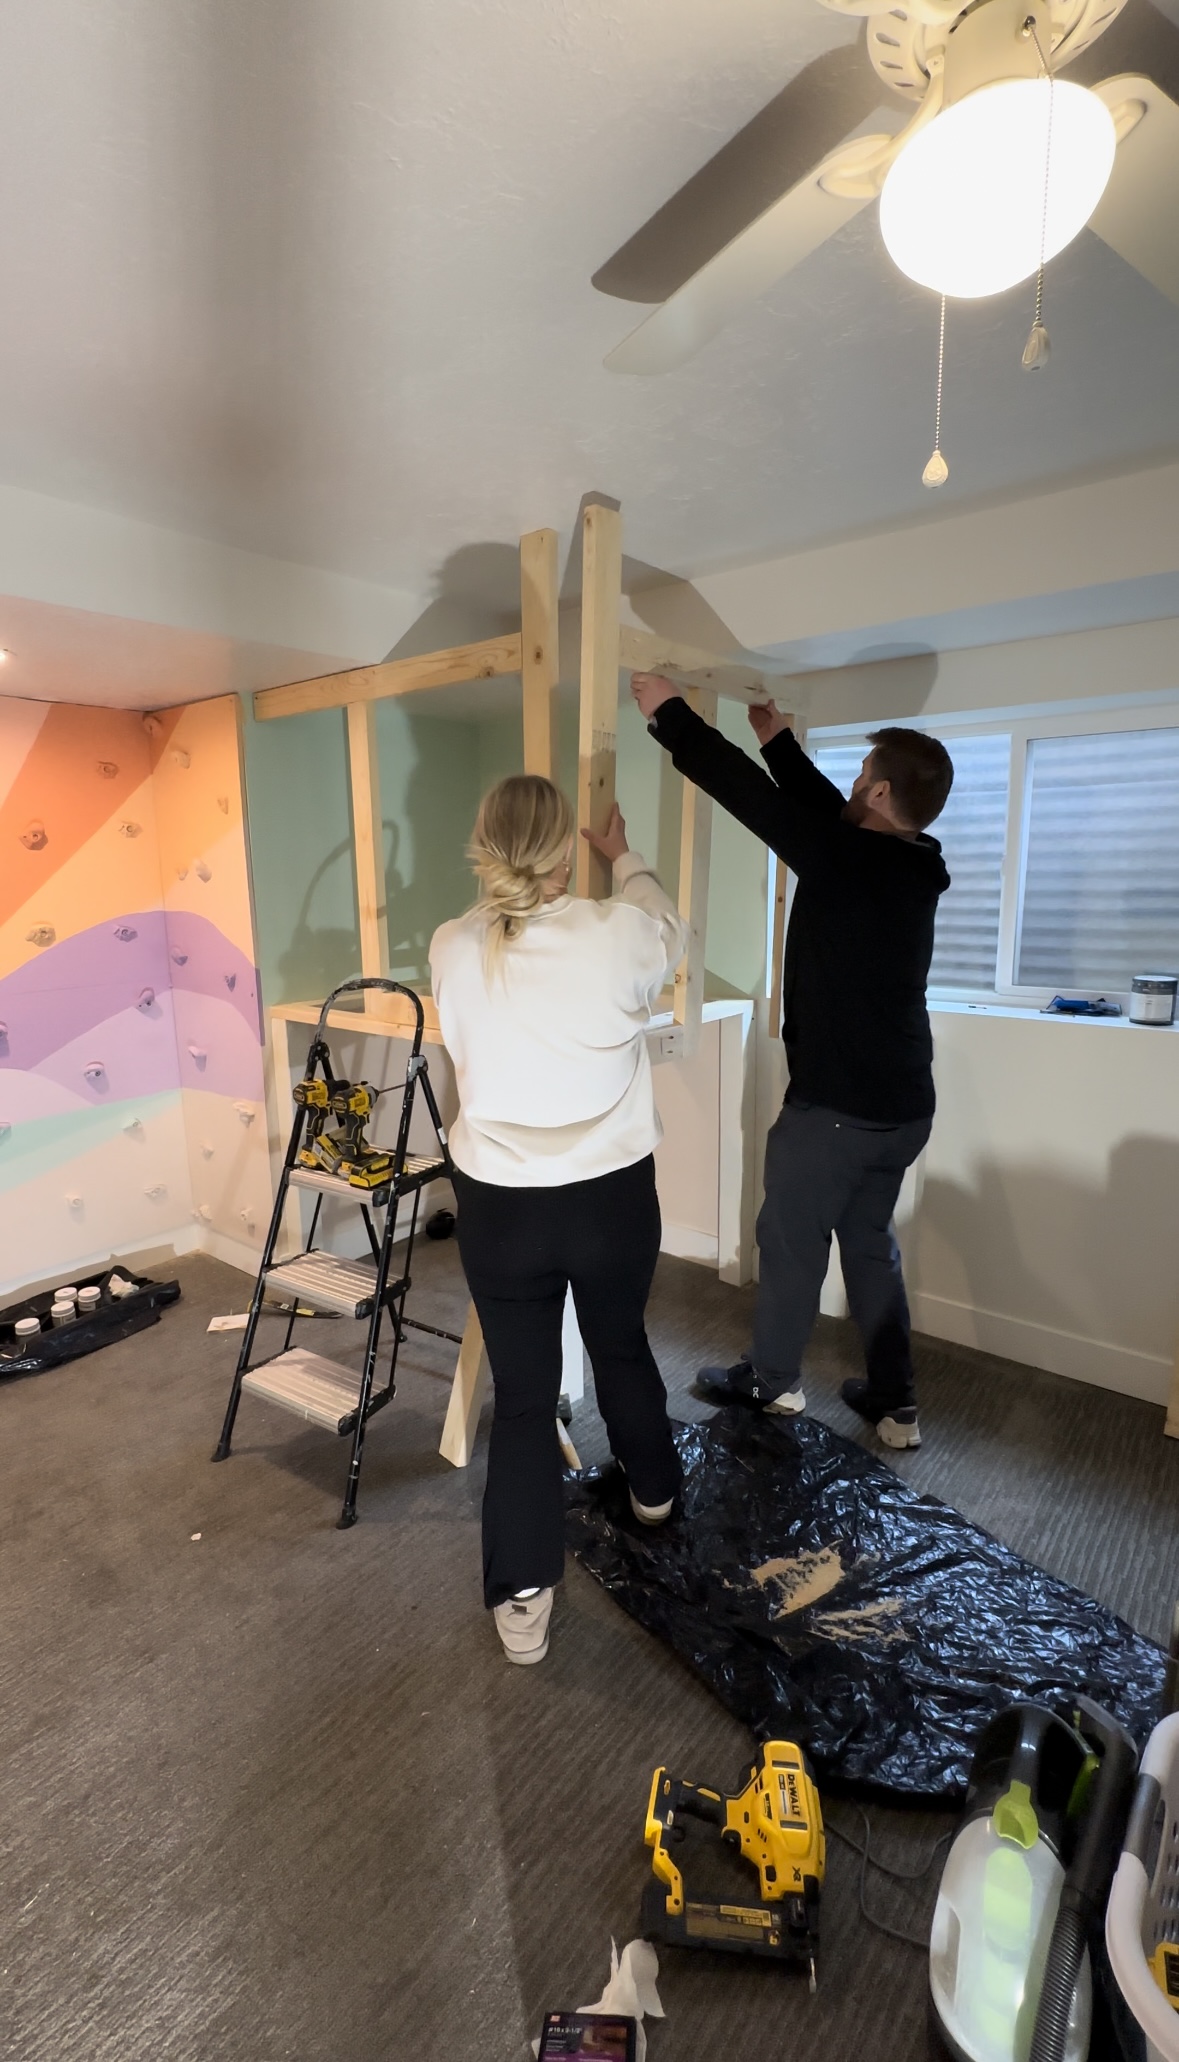
Next, we built a frame for the walls of the shack. Since this beach shack was built in the corner of the room, we only built two walls and used the existing walls for the other two walls. We built the frames using 2×4’s, pocket holes, and corner clamps. Then we secured the wall frames to the ceiling, the existing walls, the base of the shack, and each other. After the frames went up, we used ½” plywood for the outside wall. We used a table saw to cut it to size, and then a jigsaw to custom fit it to the walls and ceiling because they were uneven (if the area you’re working with is perfectly square or close to it, you can likely leave this step out). Remember to also cut spaces for the entrances/exits of the beach shack. We also used the jigsaw to cut out the windows. Then we secured the plywood to the 2×4’s using a nail gun and some screws for extra security.
Trim and Siding
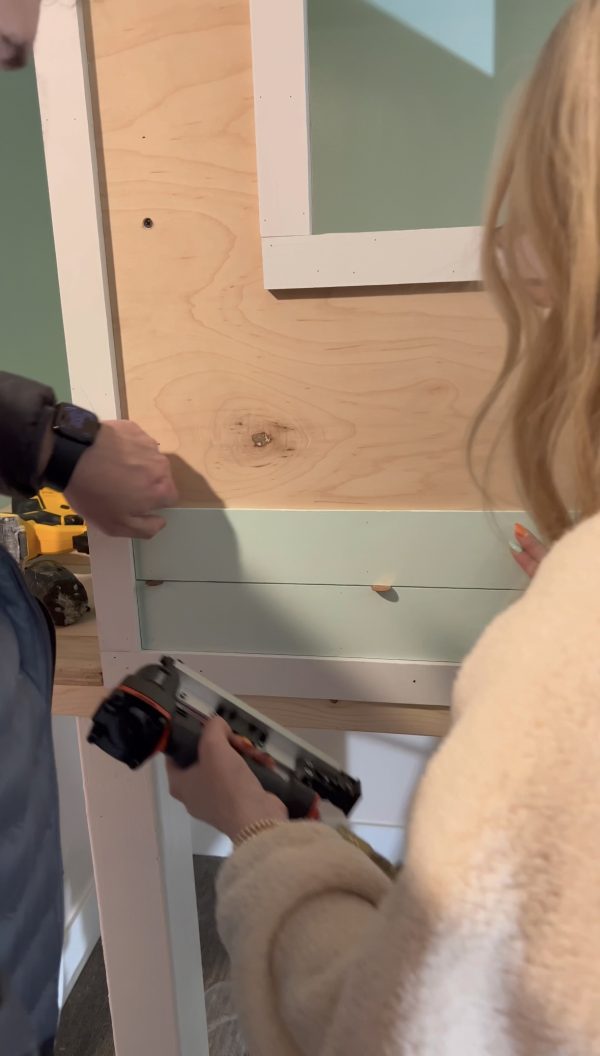
Next, we added 1×2 trim around the windows, doors, the top and the bottom of the whole shack. This gives the shack a clean, finished look. Then, we added siding. We wanted to customize the width of the slats that we were using for siding, so we used the table saw to rip a sheet of ¼” plywood to the size that we liked. Starting at the bottom, we placed the siding on the wall and used a pin nailer to secure it. Then we used a couple of pennies as spacers between the first and second piece of siding that we were placing. Repeat this process all the way up! This ensures that the siding is level and the same distance apart from bottom to top. We used a jig saw any time we needed to cut a custom piece of siding to go around the windows or the door frames. Once all of our trim and siding was up, we caulked around the outside of all the trim to give it a clean, finished look. We also filled each nail hole with spackle to ensure there were no visible nails or holes in the siding and trim. Side Note: Because we were working inside someone else’s home for this project, we prepped and painted a lot of the materials beforehand. This is not necessary, and you can prime and paint after you put everything together if you choose. At this point for us, we were just doing touch-ups over the places we filled with spackle.
Flooring
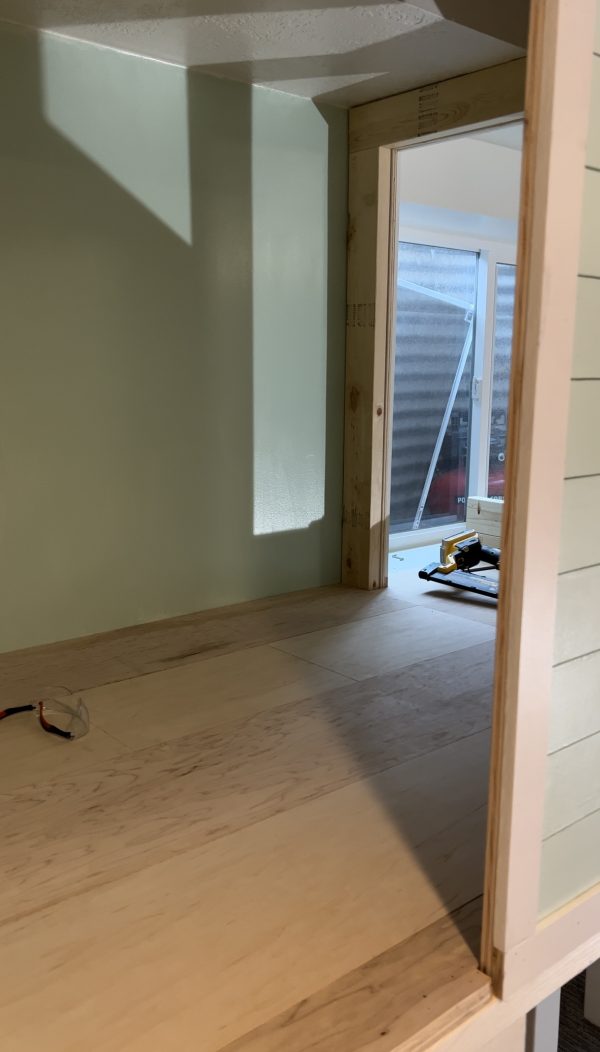
For the flooring of the beach shack, we used ¾” plywood that we ripped down to planks. You could also just cut the ¾” plywood to the same size as the inside of the shack, and lay it down in one piece. We secured the plywood floor to the 2×4 base using a nail gun. Once it was secured, we filled the nail holes, sanded it down, and placed a clear polyurethane over the floor to seal it.
Ladder
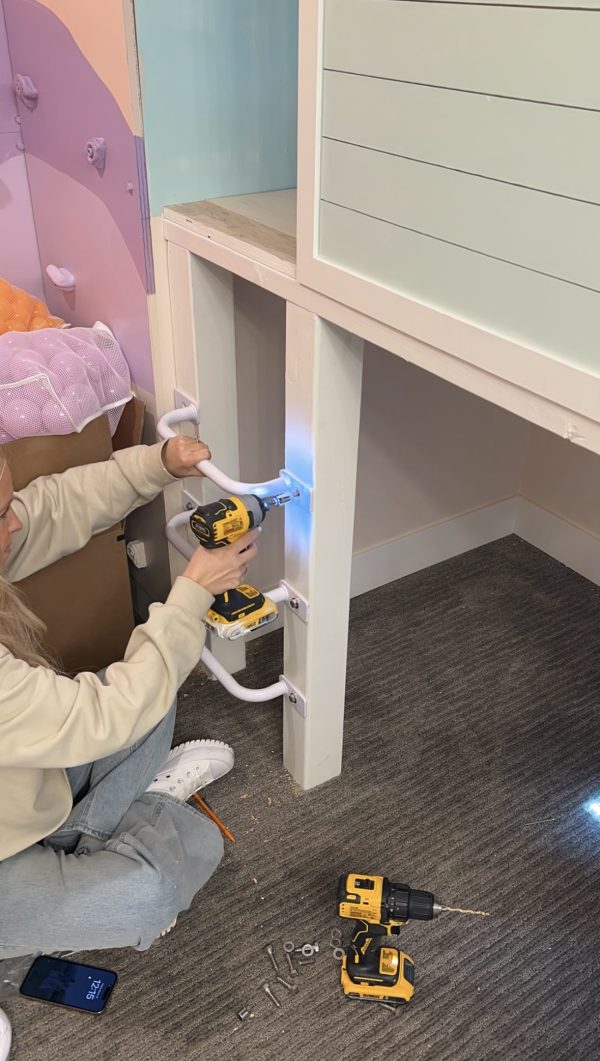
To hang the ladder rungs, we needed to add another 4×4 post underneath the beach shack. To do this, we measured the distance between the holes in the ladder where you bolt them in, and then used that measurement to determine where to place the extra 4×4 so that the ladder rung would be centered on both 4×4’s. We then attached the ladder rungs to the 4×4’s using bolts and washers, placing the rungs about 12” apart from each other.
Slide/ Platform
At this point, you could add a slide to the other door opening in the beach shack, so the slide is coming straight out. Because of the space we were working in, we needed the slide to face a different direction. To solve this problem, we built a small platform outside the beach house where the slide could come down in the direction we needed. To create this platform, we used 3 more 4×4 posts, and another small 2×4 square for the base of the platform. We secured the small 2×4 square to the studs in the wall and to the base of the beach shack with screws. We also secured it to the 4×4 posts that hold it up. We also wanted to use one of the extra ladder rungs as a handle on the platform, so we stacked two 2×4’s on top of each other (the 1 ½” side down, to take up as little space on the platform as possible) and secured the ladder rung on top. Then we added siding to finish off the look.
Attach Slide
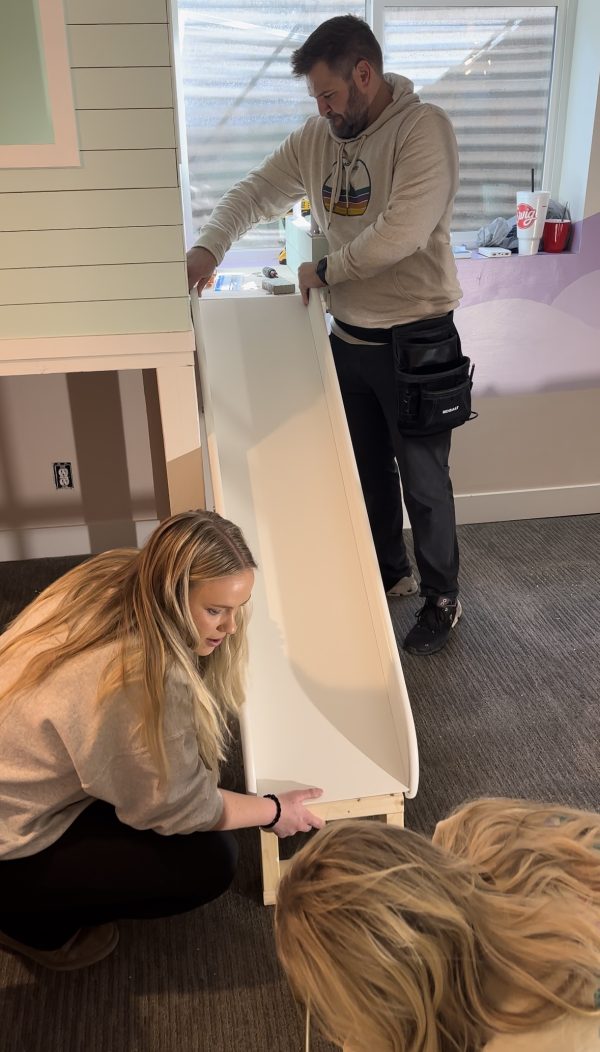
Whether you build a platform or not, you can attach the slide to the beach shack using L brackets. We had to bend our L brackets in a little bit to match the angle of the slide. This angle will depend on the length of the slide, and how steep you want the slide to be. We felt like our slide was too steep when we placed the end straight on the ground, so we ended up lifting the base of the slide about 12”, using 2×4’s. We used L brackets to attach the slide to both the beach shack and the 2×4 square at the bottom.
Hopefully this gives you some inspiration to create your own play house! This was such a fun process and Indy just loved it. You can view more of the process by viewing my highlights on Instagram!









Write Comment